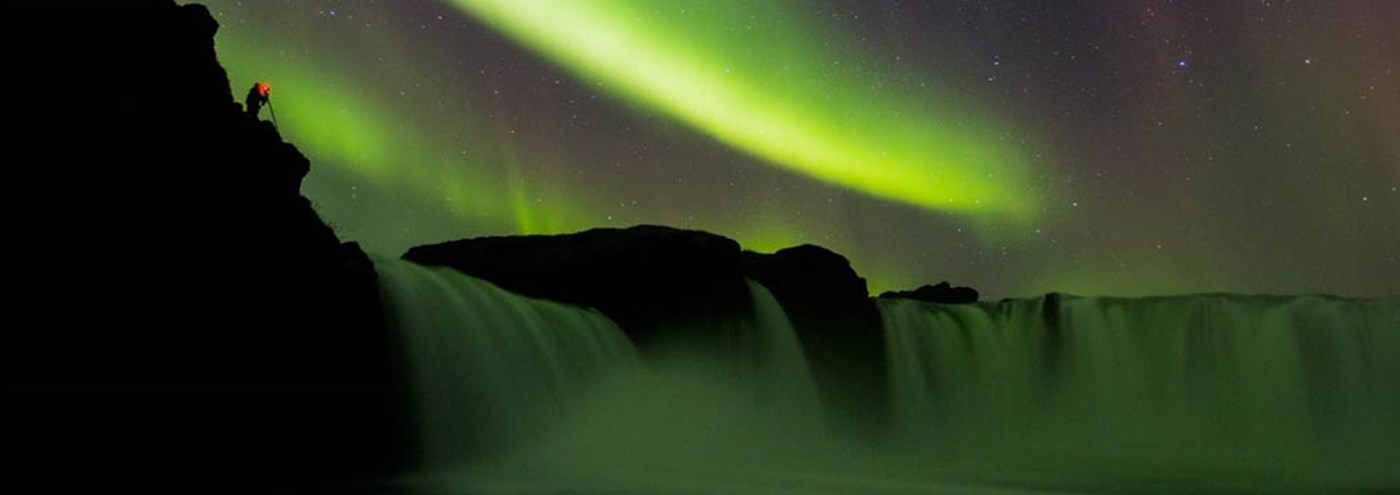
How to take photographs of the Northern Lights
Cameras that can manage to take pictures of the aurora have to have manual setting. The camera needs to be useable in high ISO setting. Older cameras,5 years and older, are not as good in high ISO setting like the newer ones, so you should have a good photosensitive lens
The lenses that are best to use are panoramic/wide and with a large diaphragm. You can use a tight/close-fitted/close lens but if you want to have some landscape in the picture panoramic/wide lenses are best. The lens needs to have a focus indicator as well to see where the focus is because auto focus does not work in this situation. This indicator is on most finer lenses and is situated on top of it.
How to adjust everything
The camera should be adjusted to manual mode. The diaphragm should be adjusted to the largest diaphragm the lens provides. In fact the lower the diaphragm number is the better, 1.4, 2.0 or 2.8 are the best ones.
The shutter speed should be adjusted to 4 seconds in the beginning, sometimes you need a shorter time but most of the time you need longer time, about 4-15 seconds. It is not recommended to go over 20 seconds because it will develop something called star trail in the stars.
ISO (photosensitive/sensitive), should be adjusted to ISO 800 in the beginning. Most of the time ISO 800-3200 is used but the lower the number the better the quality and better colors. You can experiment with this number, it all depends on how strong the aurora is.
 The lens is adjusted to Manual Focus and if it has hristivörn/no shake setting? on the lens than you must turn it off and also if you have some sort of a filter fastened on the front of the lens, like UV-filter or something like that you should take it off. The focus should then be adjusted to Infinity, there the window with the focus indicator should appear. If the focus is not anti-shaking in the lens you should turn the focus circle to the left or right, depends on the manufacturer which way the infinity setting is, and then a little bit back again, but only a little bit. It might be hard to get focus in these situations but if that happens you can zoom out the lens to the max and try to focus on a star and then zoom back when the focus is there.The camera is put on a tripod and if you have something called shutter release then it is good to use that but not necessary. It is used so you will not push the shutter button on the camera itself and to prevent shaking that can come out in your pictures. If this is not on your camera you should use the timer on your camera, then you prevent the shake on your pictures.
White balance is best to adjust on AW (auto white balance). The aurora is moving fast and the color changes also quickly so this setting is the best in this situation.
So the basics are:
- Put the camera on the tripod, take filters off of any and turn off the no shake
- ISO should be adjusted to 800-3200.
- The diaphragm should be as big as the lens provides.
- Shutter speed should be 4-15 seconds.
- White Balance adjusted to Auto White Balance.
- Take extra batteries with you, because it will empty sooner in the cold.
- Flash light if possible so you can see what you are doing while adjusting the settings on the camera.
- The funny thing is that if you take pictures of the lights at each of the locations, both South and North, the large spirals that sometimes appear will often look like mirror images of each other.
Written by Aðalheiður Stella Stefánsdóttir based on an interview with photographer

-
Arctic Adventures Family
As part of the Arctic Adventures family, we can provide customized tours and combination tours with northern light and other activities. If you would like to know more please contact our service desk and we will be happy to accommodate your specific needs.